
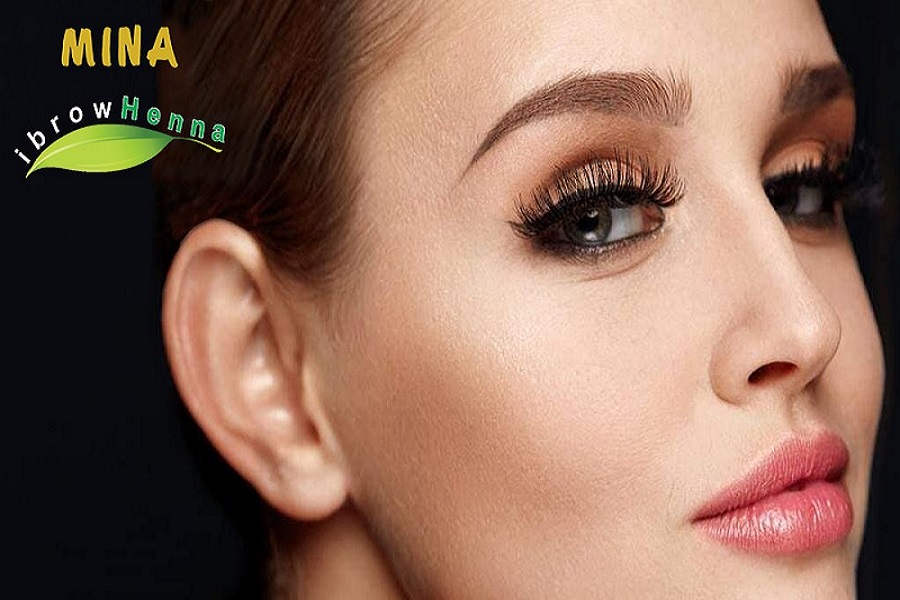
Bold and fluffy eyebrows just set the right frame of the face in a certain way, no? But are you afraid of eyebrow-tinting appointments?
Eyebrow tinting is a very simple and painless process that just takes 10 minutes for application and another 15 to 20 minutes for the tint to settle down completely.
But, for the days when you don’t feel like going out, or just want to pamper yourself at home, or on days when you don’t have a second to breathe, reaching out to a professional for those arches alone becomes very difficult. Tinting your brows at home becomes the best option on such days.
Yes! You heard it right. You can dye your eyebrows at home also in just 10 minutes, provided you follow a step-by-step guide to do it like the pros.
1. Choosing the right tinting dye
Choosing the best color for your eyebrow tinting is the most important part of the process. The market is full of eyebrow tinting kits, which come with a developer and a dye pigment that leaves the color. Opt for a patch test before painting in your brows—either behind your ear or on the inside of your wrist. Just to be assured that you won’t face an intense burning reaction.
How to find the right shade?
Doing brows at home for the first time is always a hit-and-trial, so best is to opt for a lighter shade. So, if you want to go for dark brown brows, choose a medium brown color. Or, If your goal is just to paint your brows to medium brown, choose a light brown color. Look carefully at the specific package’s mixing procedure and timing to make sure you don’t paint your brows too dark or leave them too light.
2. Prep up your brows
Before you start tinting your brows at home, draw out the border around the brow, to differentiate the skin that you don’t want to stain. Mapping out those areas with a white brow paste will keep it clear and simple. Again, I would say that it will take a bit of practice to master the skill that professionals possess so practice as much to outline your brows perfectly.
3. Start with eyebrow painting
Here comes the main part—start painting the dye onto your stenciled brows. Initially, start applying over your entire brow bone. Run the spoolie all over your brows to remove any lumps. Then use a cotton bud to outline the exact brow shape you want at the end.
4. Time it according to package guidelines, then wipe it off
After you are done with the application, leave the dye on your brows as per the instructions given in the product packaging. Once your timeline is over, grab a wet cotton pad and wipe off the dye pigment completely against the direction of your brow hair growth to make sure you lift the product completely out of your eyebrows.
5. Rinse, assess and edit
Finally, rinse your brows and repeat the process, if you were hoping for a darker tint. Paint it on again with the same process you followed earlier, only, this time keep the tint for a lesser time, maybe for three minutes. Go slow! There’s nothing wrong with multiple applications until you get that perfect tint you always wanted.
You can dye the front and the end sections of your brows for longer. Both the sections often take more processing time. Apply the tint on the entire brow for a few minutes initially, then rinse and see if the middle looks perfect and then just do the other two ends. Let it rest for some more time to get that perfect tinted brows you always wanted.
The bottom line
Tinting your brows at home is absolutely painless. Go slow and steady to draw yourself that perfect eyebrow tinting look, and if you end up with any mess-ups it will anyway fade away in just a few days. Do not expect that same salon tint results the first time you do it, but you will surely get there one day with practice and experimentation.
Add more to this conversation with your comments below. When was the first time you did it all by yourself, and when was the first time you got it all right? We are eager to hear from you. Till then!
